
Raising Cabinets - Part 5

Before

After

Step 5: Add Face Frame & Crown Moulding
Wow... I actually made it to the end! This definitely turned out to be my largest project to date and here at the final step I forgot to take pictures of the face frame assembly and install!
As you will see, I simply made a few small oak supports to cover up all of the creases between each box and a large, wide oak board to span the distance above the boxes to the ceiling supports. Once the face frames were attached, we ran crown moulding around all of it, caulked it, primed, painted, decorated, and DONE!
At the same time I was working on the upper and lower cabinets I was also working on remodeling our island in the middle of the kitchen. I'll write a separate post on that project. Check out the links and pictures below and contact me if you have any additional questions. You don't have to be an experienced woodworker; you can do in your kitchen too!
See previous steps:

Again, I totally forgot to take pictures of this. I simply used a Kreg Jig to make pocket holes and attach the vertical pieces to the bigger horizontal pieces

As you can tell, I was not worried about the wide oak board going all the way to the ceiling. That would be covered by the moulding later. I used screws to attach to ceiling and brad nails to attach to lower cabs

Then it was a simple prime job to bring all the colors together! (To be honest, I hated painting over that pretty oak board)
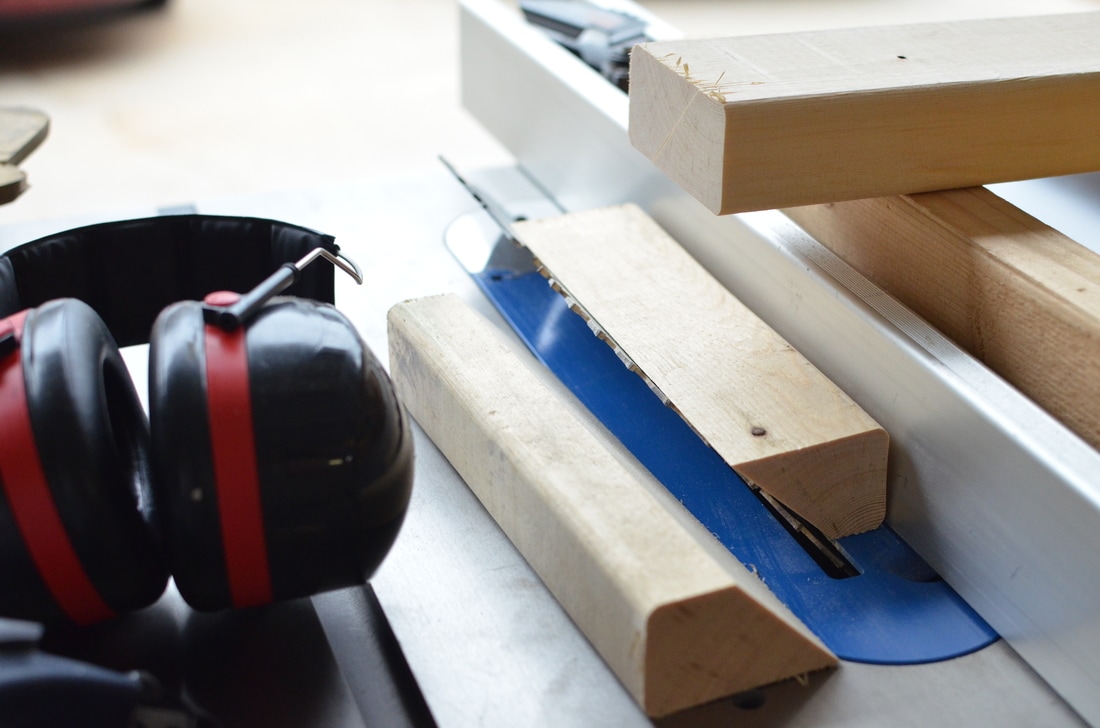
We made simple 45 degree braces to go in the space from the wide oak board to the ceiling. This was so the moulding would have something solid to nail to.

Time to pull out the miter saw and calculate all the difficult angles
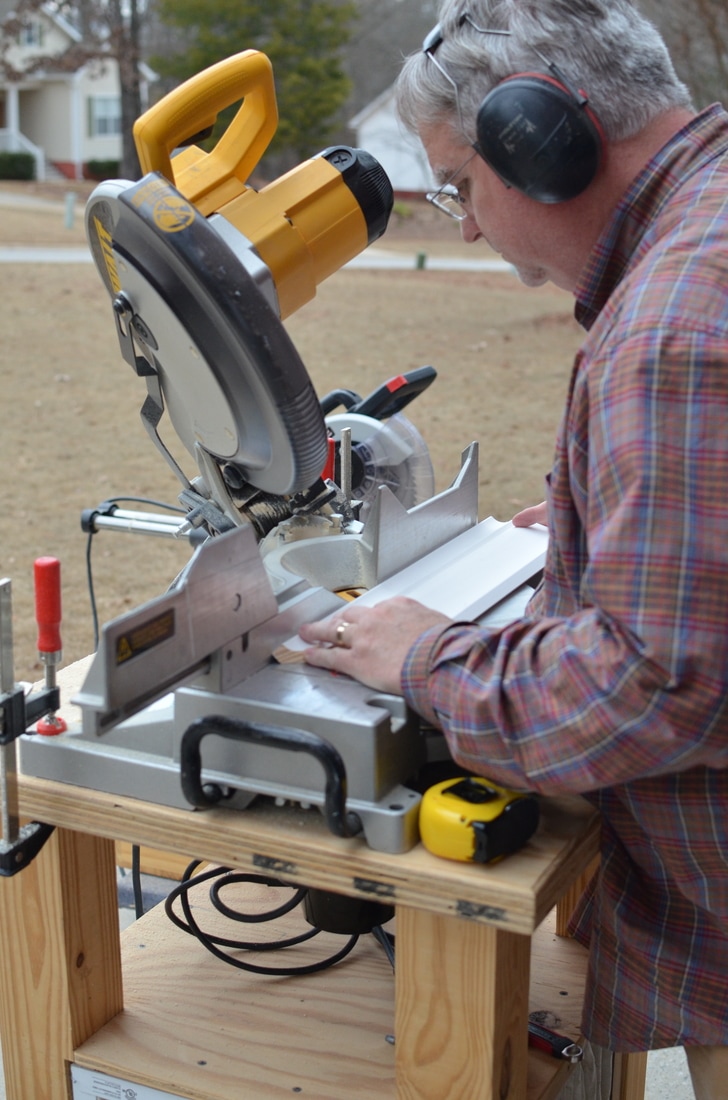
Thankfully I had my father-in-law help me with the moulding. I was super glad to have him here!
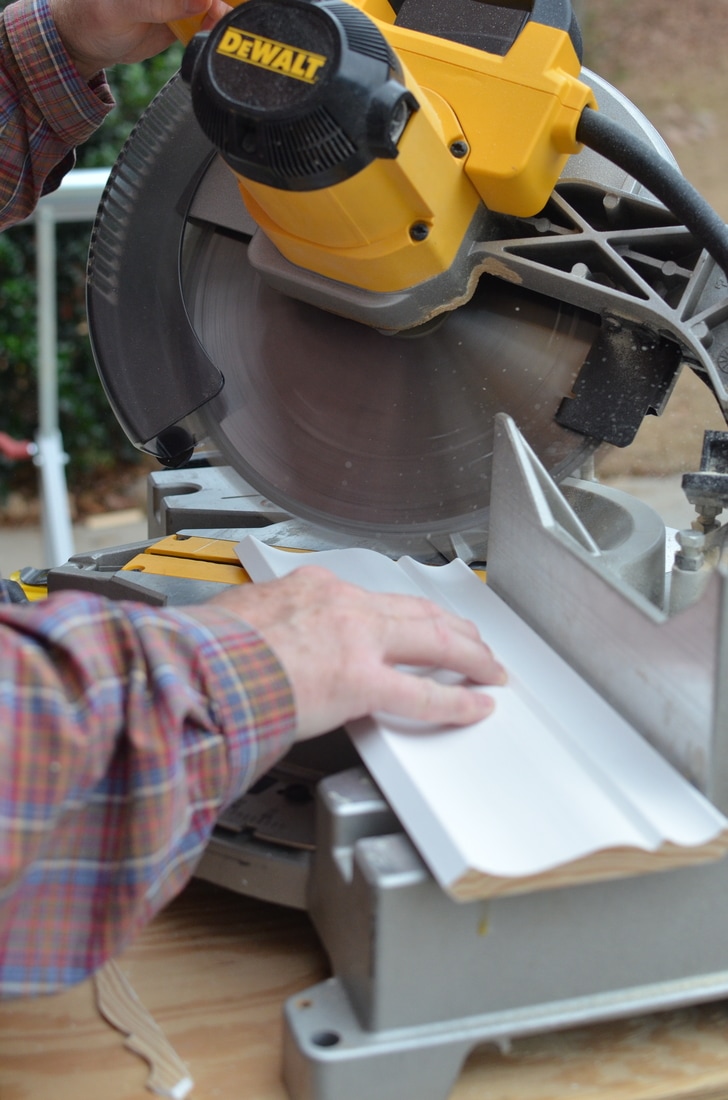
I had never done this type of trim before so he helped me calculate all of the angles

Unfortunately I was too busy assembling the moulding to take pictures, but here it is! Just caulk and paint left!

BOOM! My sister-in-law made us that sweet breadboard with a great verse (Lamentations 3:22) Check out her skills at www.rachelanne.co
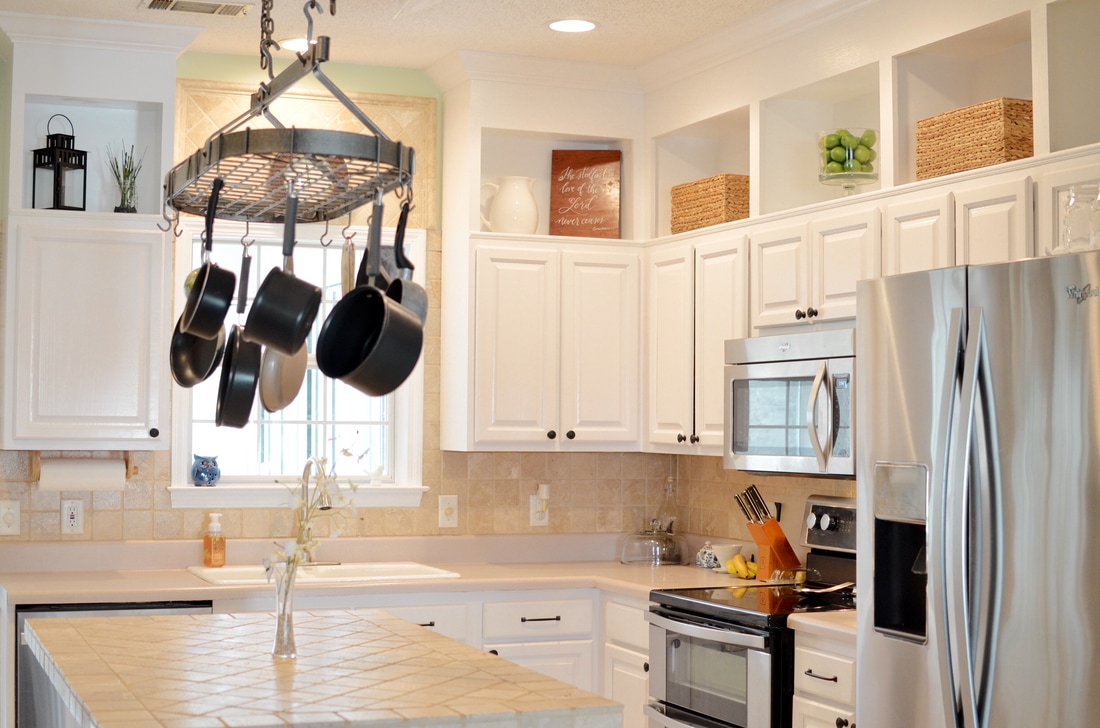
And here it is! A completely remodeled cabinet project!